
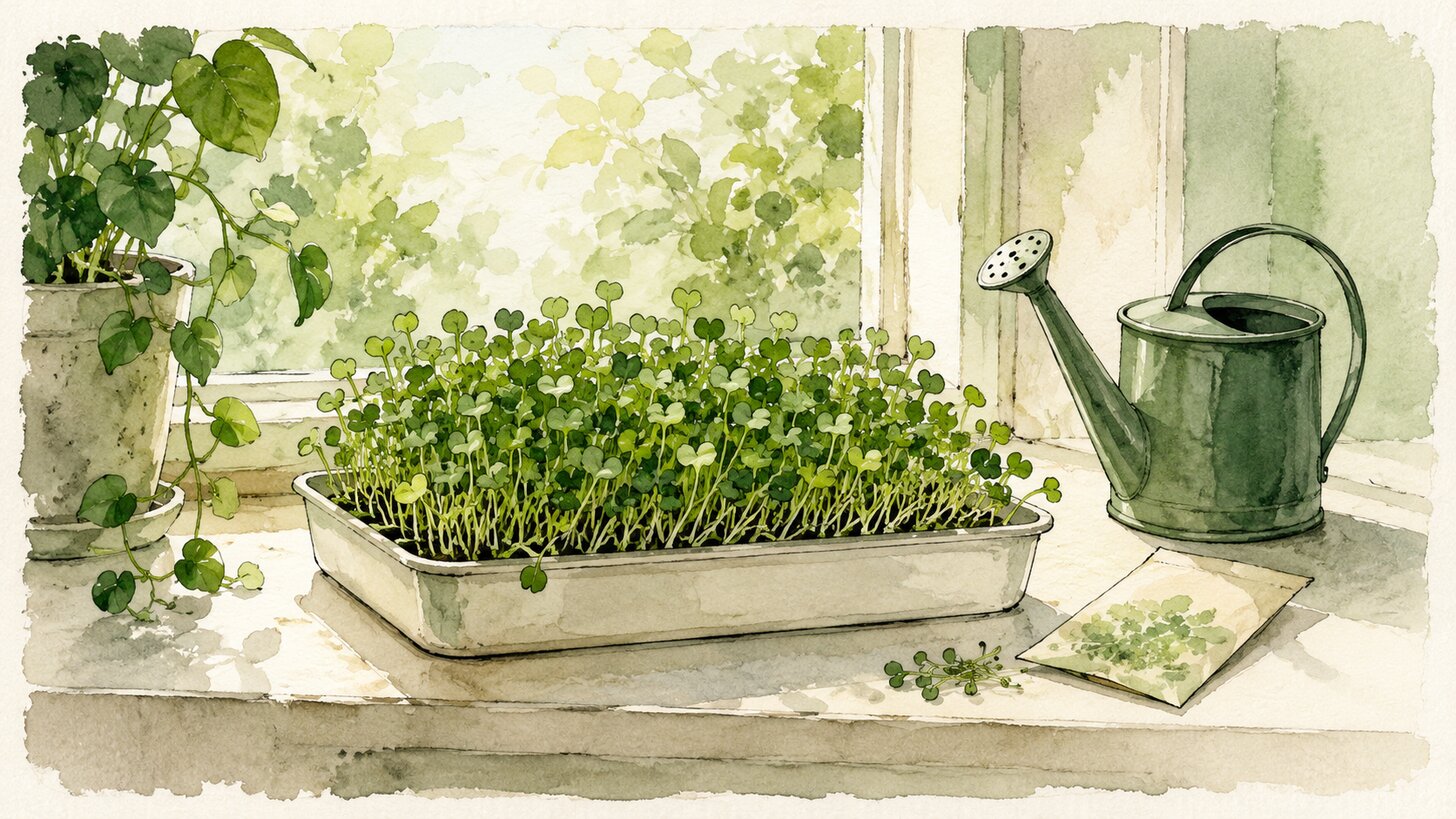
Once you learn how to grow microgreens at home, it’s hard to stop. They’re fast, they barely take up space, and a single tray can give you a steady supply of fresh, nutrient dense greens for pennies. You don’t need a garden, a greenhouse, or a green thumb. A sunny windowsill and a shallow tray will do.
Here’s the whole process, start to finish, in plain steps. New to these tiny greens? Start with our guide to what microgreens are.
What you need to grow microgreens at home
The gear is simple and cheap, and most of it you probably already have.
- A shallow tray, about 10 by 20 inches, or any clean container a couple of inches deep with a few drainage holes.
- A growing medium: potting soil, a soilless mix, or a hydroponic grow mat.
- Seeds meant for microgreens (more on the best ones below).
- A spray bottle and a little water.
- A bright windowsill, or a simple grow light if your space is dim.
That’s it. You can start a tray today for about the price of a coffee.
Best microgreens for beginners
Some seeds are far more forgiving than others, so start there. Broccoli, radish, pea, sunflower, kohlrabi, and clover all germinate quickly and grow without fuss. Radish is the fastest and almost foolproof. Pea and sunflower give you big, satisfying shoots. Once you’ve got the rhythm, branch out into kale, beet, cabbage, and herbs.
How to grow microgreens at home, step by step
1. Fill the tray
Add an inch or two of moist soil or mix, then level it gently with your hand. You want a flat, even surface, not packed down hard. If you’re using a grow mat, set it in the tray and soak it until it’s evenly damp.
2. Sow the seeds
Scatter the seeds across the surface so they sit close together but not piled on top of each other. As a rough guide, you’ll use about an ounce of seed for a standard 10 by 20 tray, less for tiny seeds like broccoli, more for big ones like peas. Don’t bury them. A light press to settle them is enough.
3. Mist and cover
Spray the surface until it’s damp, then cover the tray for the first few days. A second tray flipped on top, or any lid that blocks light, creates the dark, humid pocket seeds love. This blackout period helps them germinate and pushes the stems to stretch up.
4. Uncover and give them light
After about 3 to 5 days, when the sprouts have lifted the cover slightly, take it off and move the tray into bright light. A south facing windowsill works, or a basic grow light a few inches above. The pale shoots green up within a day.
5. Water from the bottom
Once they’re up, water gently. Misting the tops is fine early on, but the cleanest method is to add a little water to the bottom of the tray and let the soil drink it up. Keeping water off the leaves lowers the risk of mold.
6. Harvest
Most microgreens are ready in 7 to 14 days, once the first true leaves appear. Snip them just above the soil with clean scissors. A standard tray usually yields about 8 to 12 ounces, and big shoots like peas and sunflower can give even more.
How to avoid the two most common problems
Almost every beginner runs into the same two issues, and both are easy to dodge.
Mold shows up as fuzzy white growth and usually means too much moisture and not enough air. Water from the bottom, don’t oversow, and keep a little airflow in the room. A small fan nearby helps a lot. Mold is different from the fine white root hairs near the stems, which are harmless.
Leggy, pale shoots mean not enough light. Get them under bright light as soon as the blackout period ends, and rotate the tray if one side leans toward the window.
Storing and using your harvest
Cut what you need and eat it fresh for the best flavor. To store the rest, let the greens dry a bit, then keep them in the fridge in a container lined with a dry paper towel. They’ll hold for several days. Pile them onto toast, eggs, soups, salads, and sandwiches, or blend a handful into a smoothie.
Soil or a grow mat: which should you use?
Both work, so it comes down to preference. Potting soil is cheap, holds water well, and tends to give strong, healthy growth, but you deal with a little mess and you compost the used soil after each tray. Grow mats are tidy, light, and easy to handle, which many people prefer for a kitchen counter, though they cost a bit more per tray. If you’re just starting out, try one tray of each and see which fits your space and your habits.
Do you need a grow light?
Not always. A bright windowsill gives plenty of light for most varieties, especially in spring and summer. That said, a simple grow light makes your results more even and reliable, and it’s a real help in winter or in a room that doesn’t get much sun. You don’t need anything fancy. A basic full spectrum light a few inches above the tray does the job.
How much does it cost to grow microgreens?
Very little, which is a big part of the appeal. Trays are cheap or reusable, and a bag of microgreen seeds usually costs a few dollars and lasts through many trays. Once you have the basics, each tray of fresh greens works out to well under the price of a clamshell from the store, and it’s fresher too.
How to tell your microgreens are ready
Watch for the first true leaves, the second set that appears after the initial rounded seed leaves. That’s your cue. Most trays get there in 7 to 14 days. If you wait too long the flavor can turn sharp and the stems get tough, so it’s better to cut a day early than a week late. Snip what you need and leave the rest growing.
Keep a rotation going
Once you’ve grown a tray or two, start a new tray every few days. That way something is always coming up, and you never run out. A simple rhythm, sow on the weekend and sow again midweek, gives most households a steady supply of fresh microgreens without much thought. It also makes it easy to try a new variety each round.
Key takeaways
- You can grow microgreens at home with a shallow tray, some seeds, a little soil or a mat, water, and light.
- Start with easy varieties like radish, broccoli, pea, and sunflower.
- Cover the tray for the first few days, then give it bright light and water from the bottom.
- Most varieties are ready to harvest in 7 to 14 days.
FAQ
Do microgreens regrow after cutting? Most don’t. Peas sometimes give a small second cut, but for the rest it’s easiest to compost the tray and start fresh.
Do you need a grow light? Not always. A bright windowsill is enough for many varieties. A grow light just gives you more even results, especially in winter.
How much does it cost to grow microgreens at home? Very little. Trays are cheap or reusable, and seeds run well under a dollar per tray, which makes homegrown microgreens far cheaper than store bought.
Growing microgreens FAQ
How long do microgreens take to grow? Most are ready in 7 to 14 days, depending on the variety and your conditions.
Do microgreens grow back after cutting? Most don’t. Peas sometimes give a small second cut, but usually you start a fresh tray.
Can you grow microgreens without special equipment? Yes. A shallow container, some soil or a mat, seeds, water, and a bright window are enough to start.
This article is for general information. Grow your microgreens in clean conditions, rinse them before eating, and if you have a health condition or a weakened immune system, check with a qualified professional about eating raw greens.