
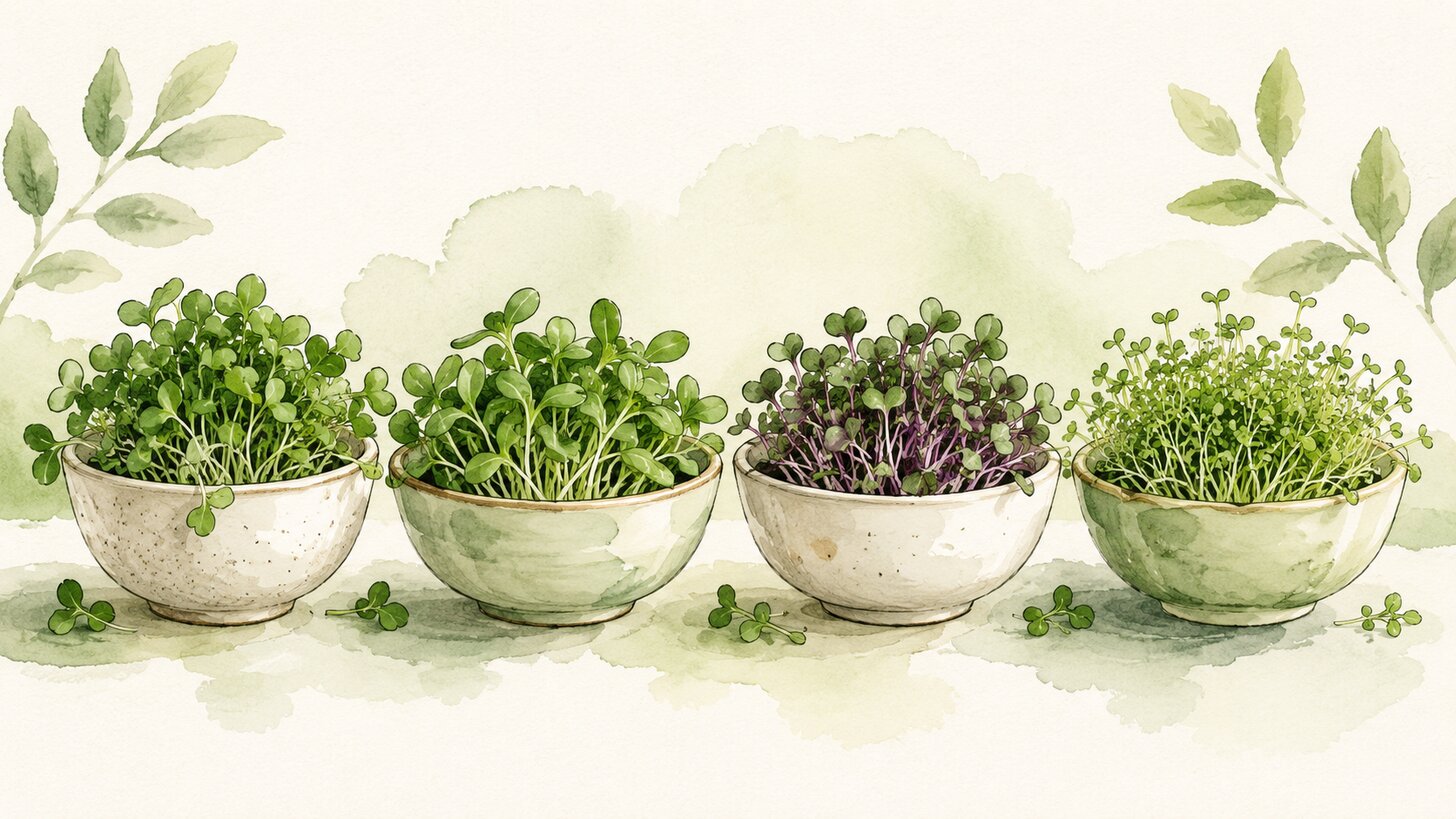
If you’re new to growing your own greens, the best microgreens to grow are the ones that sprout fast, forgive mistakes, and taste great. Start with those and you’ll get a satisfying harvest in a week or two, which is exactly what keeps you going. Here are seven of the best microgreens to grow for beginners, why each one works, how long it takes, and how to eat it.
Want the full method first? Read our guide to growing microgreens at home, or the primer on what microgreens are.
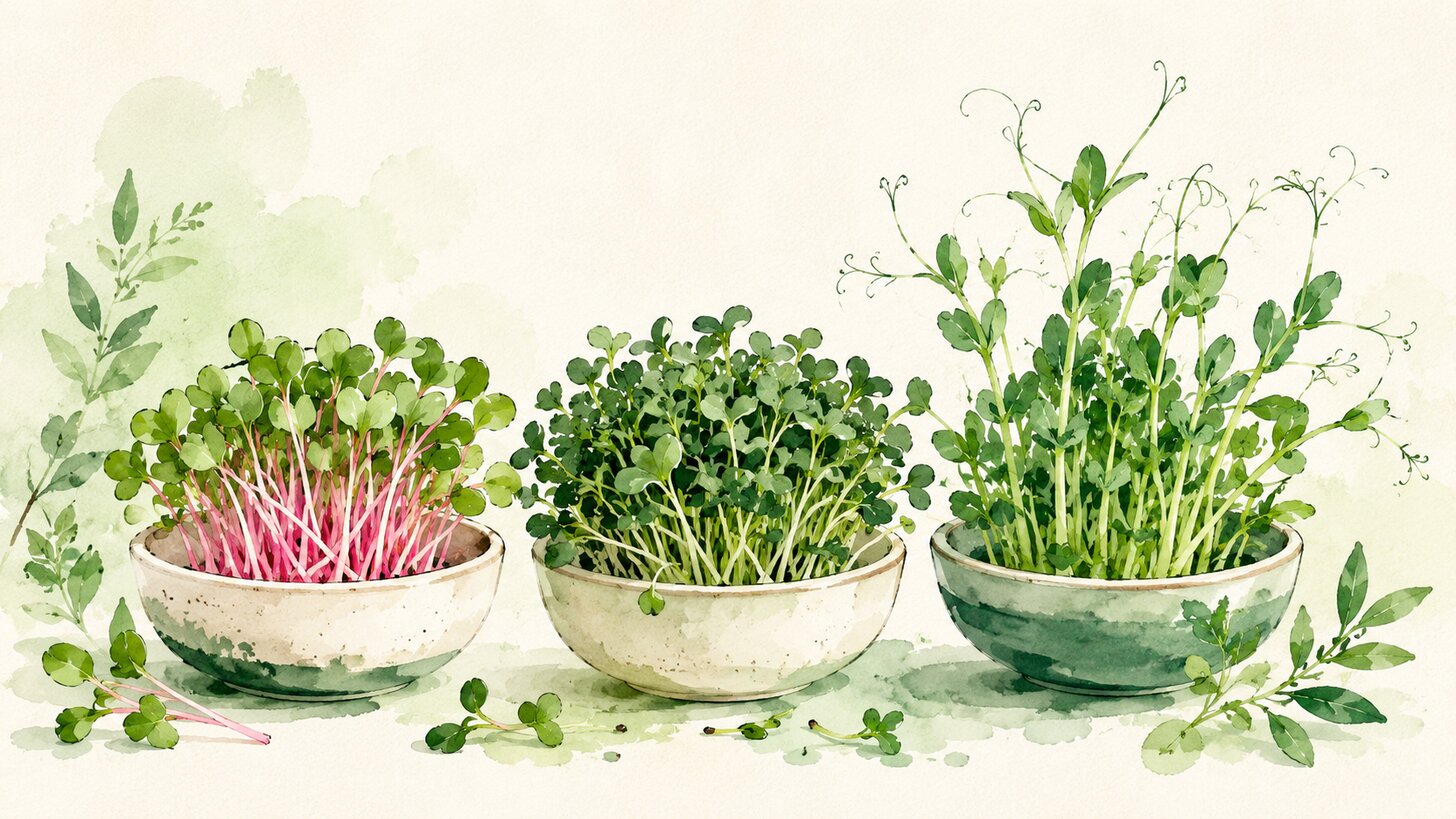
How to choose the best microgreens to grow
Two things make a variety beginner friendly: quick, even germination and seeds that don’t need special soaking or fussing. The seven below all fit. A good rule for your first month is to skip the tricky mucilaginous seeds like chia, flax, and basil, which turn gel like when wet and need a different setup.
It also helps to buy seeds sold specifically for microgreens or sprouting. They’re cheap, they’re tested for germination, and a single bag lasts through many trays.
1. Radish
Radish is the fastest and most forgiving microgreen there is, often ready in about 7 days. The flavor is bright and peppery, a little like a fresh radish but softer. If you want one easy win to build your confidence, start here. It’s fantastic on tacos, avocado toast, and grain bowls where a little bite is welcome.
2. Broccoli
Broccoli microgreens are mild, green, and easy, and they’re one of the most nutrient dense options thanks to a compound called sulforaphane. They germinate quickly and grow evenly, usually harvest ready in 8 to 12 days. Because the flavor is so gentle, they slip into eggs, sandwiches, and smoothies without anyone noticing.
3. Pea shoots
Pea shoots are sweet, crunchy, and generous. One tray gives you a big, hearty harvest, and peas are the rare microgreen that will sometimes give a small second cut. Soak the seeds overnight first so they sprout evenly, then expect to harvest in 10 to 14 days. They’re lovely raw in a salad or tossed into a stir fry at the very end.
4. Sunflower
Sunflower microgreens are nutty, thick, and satisfying, closer to a real salad green than a delicate garnish. Like peas, they do best with an overnight soak, and the papery seed hulls are easy to rub off once the shoots are up. They’re sturdy, hard to mess up, and make a great crunchy base for a microgreen salad on their own.
5. Kohlrabi
Kohlrabi is mild and a little sweet, with pretty stems that add color to a plate. It behaves a lot like broccoli and cabbage in the tray, so if you can grow those, you can grow this. Ready in about 8 to 12 days, it’s a nice one to mix in for variety and a pop of color.
6. Clover
Clover is quick, mild, and endlessly useful. It has a soft, fresh flavor that works in almost anything, so it’s a great everyday base to grow alongside a spicier variety like radish. Beginners rarely have trouble with it, and it’s usually ready in 8 to 12 days.
7. Cabbage
Cabbage microgreens are mild, tender, and reliable, with a faint sweetness. They germinate fast and grow evenly, and the red varieties add a lovely purple tint to salads and bowls. A solid, low fuss choice, harvest ready in around 8 to 12 days, to round out your first lineup.
What you’ll need to get started
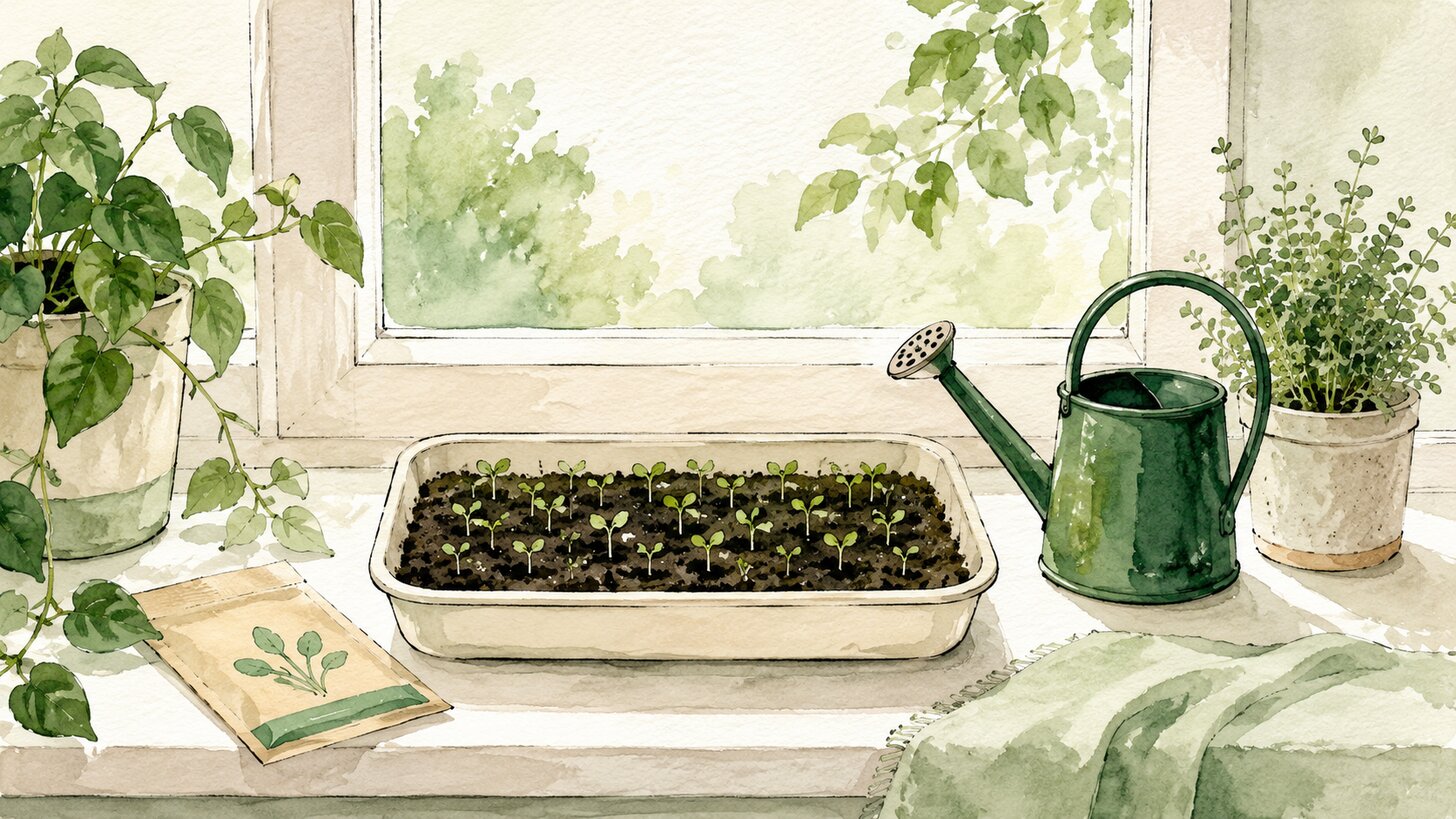
You don’t need much. A shallow tray, a little soil or a grow mat, your seeds, water, and a bright windowsill will cover it. Cover the tray for the first few days so the seeds germinate in the dark, then move it into light once the sprouts lift the lid. Water gently from the bottom to keep the leaves dry and the mold away.
Beginner mistakes to avoid
The two most common slip ups are easy to sidestep. Sowing too thickly traps moisture and invites mold, so aim for a dense but single layer of seed. And leaving the tray in a dim spot gives you pale, leggy shoots, so get it into good light as soon as the blackout period ends.
Try a mix once you’re comfortable
After you’ve grown a couple of these on their own, try sowing two or three together, say radish, broccoli, and clover, for a tray with a range of flavor and color. Just pick varieties that mature around the same time so they’re ready to cut together. A mixed tray is also a great way to find the flavors your household actually reaches for.
How to store your microgreen harvest
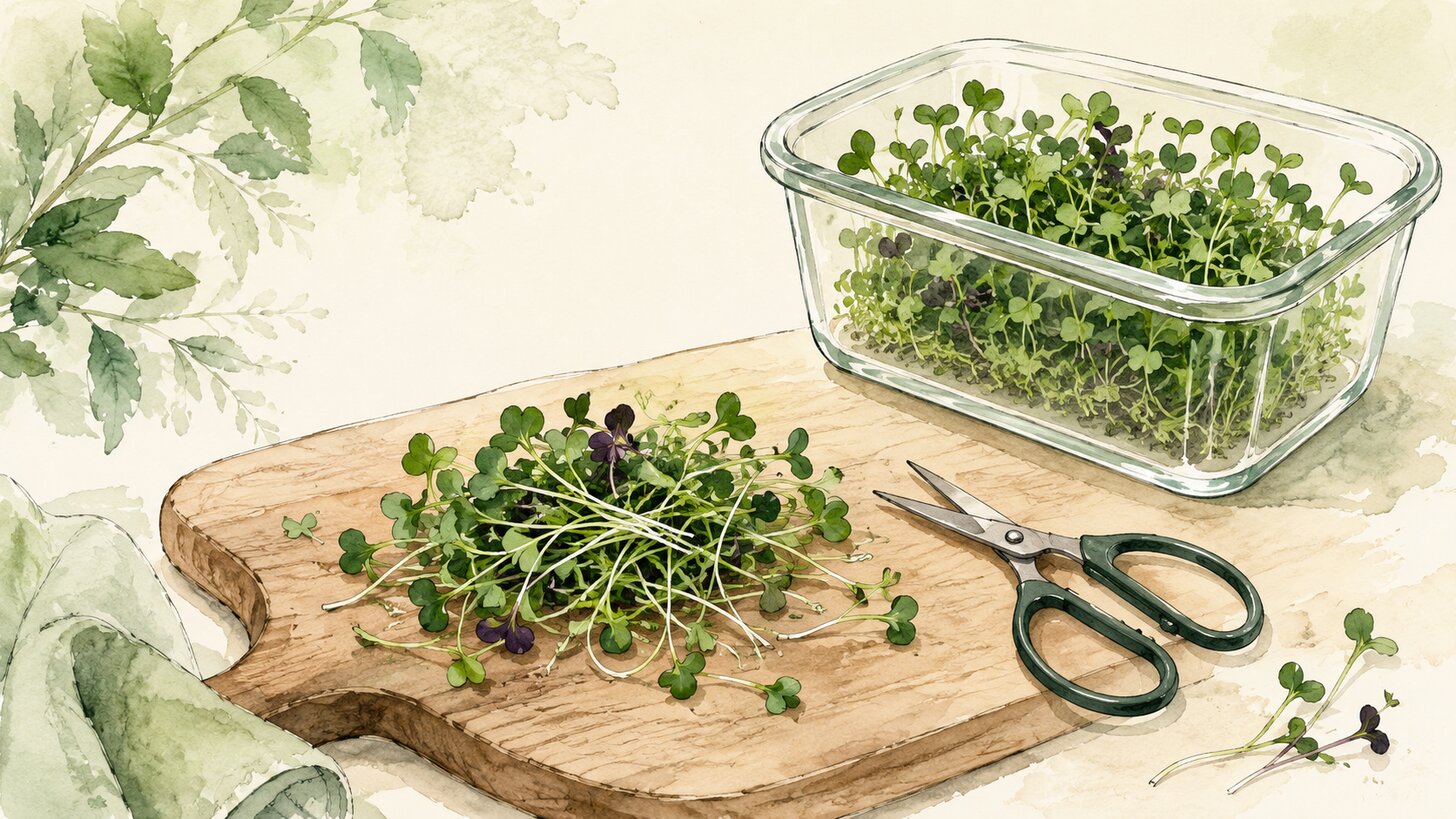
Cut only what you’ll use in the next day or two, and leave the rest growing in the tray. For greens you’ve already harvested, let them dry a little, then keep them in the fridge in a container lined with a dry paper towel. Most hold their crunch for several days. Pea and sunflower shoots tend to last the longest, while the more delicate varieties are best eaten soon after cutting.
Buying good microgreen seeds
You’ll get better results with seeds sold for microgreens or sprouting, which are tested for germination and not treated with anything you wouldn’t want to eat. Buy the bigger seeds like peas and sunflower by the pound, since you use a lot per tray, and the small ones like broccoli and radish in smaller bags. Stored cool and dry, a bag lasts a long time.
A simple weekly rhythm
The easiest way to always have fresh microgreens is to stagger your trays. Sow one at the start of the week and another midweek, and you’ll have a steady supply without a glut. Once you know which varieties your household actually eats, lean into those and keep a spare bag of seed on hand.
Get the most from your microgreens
A few small habits help. Eat them raw, since heat breaks down some of the nutrients and wilts the leaves in seconds. Add them at the end of cooking, not the start. And eat them fresh, because like any green they slowly lose nutrients the longer they sit. A daily handful across a few different varieties gives you a nice range of flavor and nutrition without any fuss.
Why grow your own microgreens?
Beyond the flavor, growing your own means the freshest possible greens for pennies, harvested minutes before you eat them. There’s no plastic clamshell, no wilting on a store shelf, and no mystery about how they were grown. For a windowsill and a week of patience, you get a genuinely nutrient dense food on tap, which is hard to beat.
Key takeaways
- The best microgreens to grow for beginners are radish, broccoli, pea, sunflower, kohlrabi, clover, and cabbage.
- They germinate fast, grow evenly, and don’t need special handling.
- Soak pea and sunflower seeds overnight for the best results.
- Skip gel forming seeds like chia, flax, and basil until you have more practice.
FAQ
What is the easiest microgreen to grow? Radish. It sprouts fast, grows evenly, and is ready in about a week.
Which microgreens are the most nutritious? Broccoli, radish, and red cabbage are often singled out, but any fresh microgreen adds a concentrated hit of nutrients.
Do these microgreens regrow after cutting? Most don’t. Peas may give a small second cut, but usually it’s easiest to start a fresh tray.
How much seed do I use per tray? A rough guide is about an ounce for a standard tray, less for tiny seeds like broccoli and more for big ones like peas and sunflower.
Can I grow different microgreens in the same tray? Yes, as long as they mature at a similar pace so you can harvest them together.
This article is for general information and isn’t medical advice. Grow your microgreens in clean conditions and rinse them before eating. If you have a health condition or a weakened immune system, check with a qualified professional about eating raw greens.