
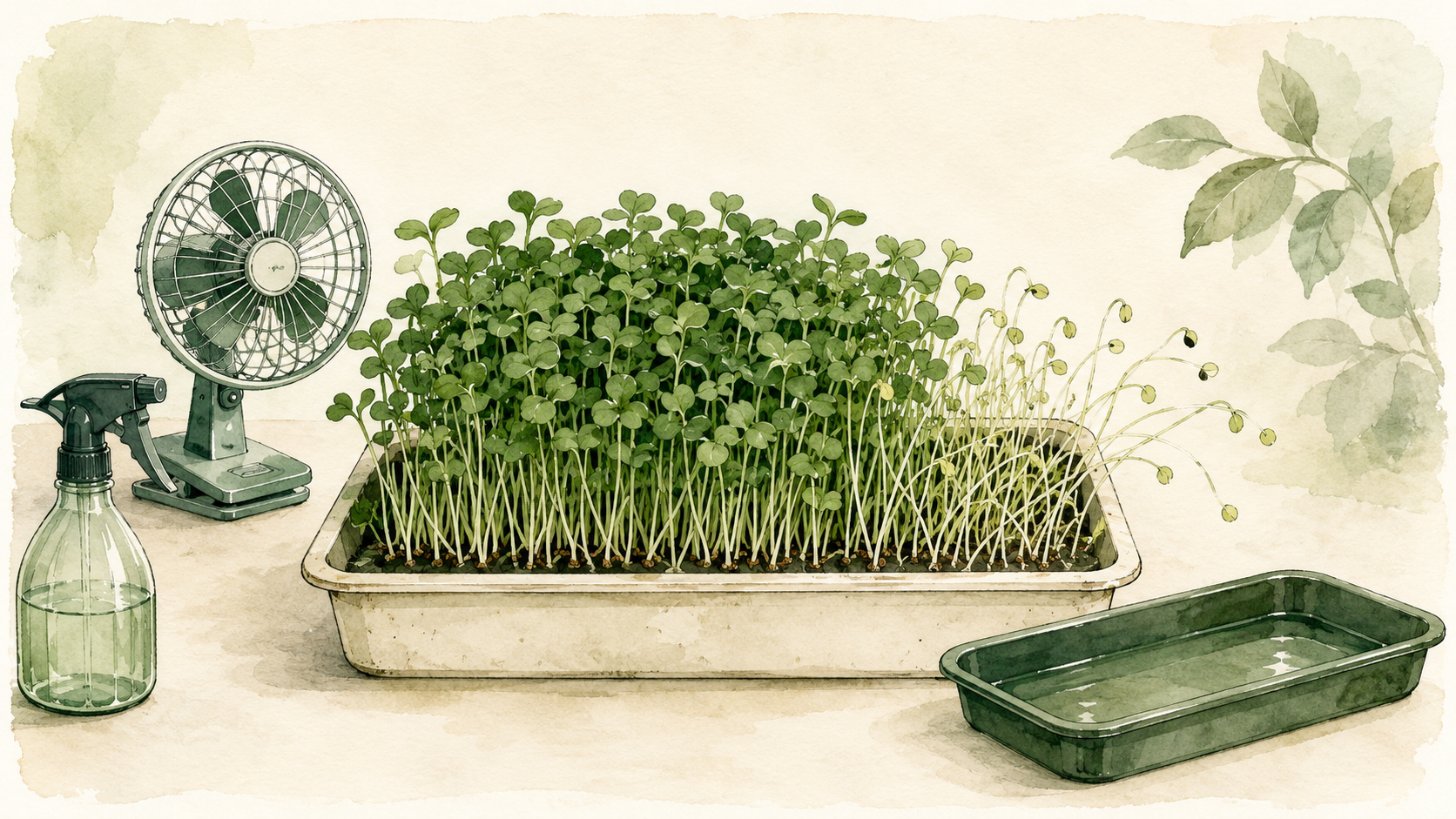
You lift the towel off a tray you seeded four days ago, expecting a carpet of green, and instead you find a fuzzy white haze creeping across the base of the stems. Your stomach drops. Is the whole tray ruined? Do you toss it and start over?
Take a breath. That white fuzz is the single most common scare in home growing, and more often than not it’s completely harmless. Most microgreen growing problems come from just three things: too much moisture, not enough airflow, and not enough light. Once you learn to read the signs, you can fix almost anything a tray throws at you, usually with a small tweak rather than a fresh start.
Here’s how to spot what’s actually going wrong, and what to do about it.
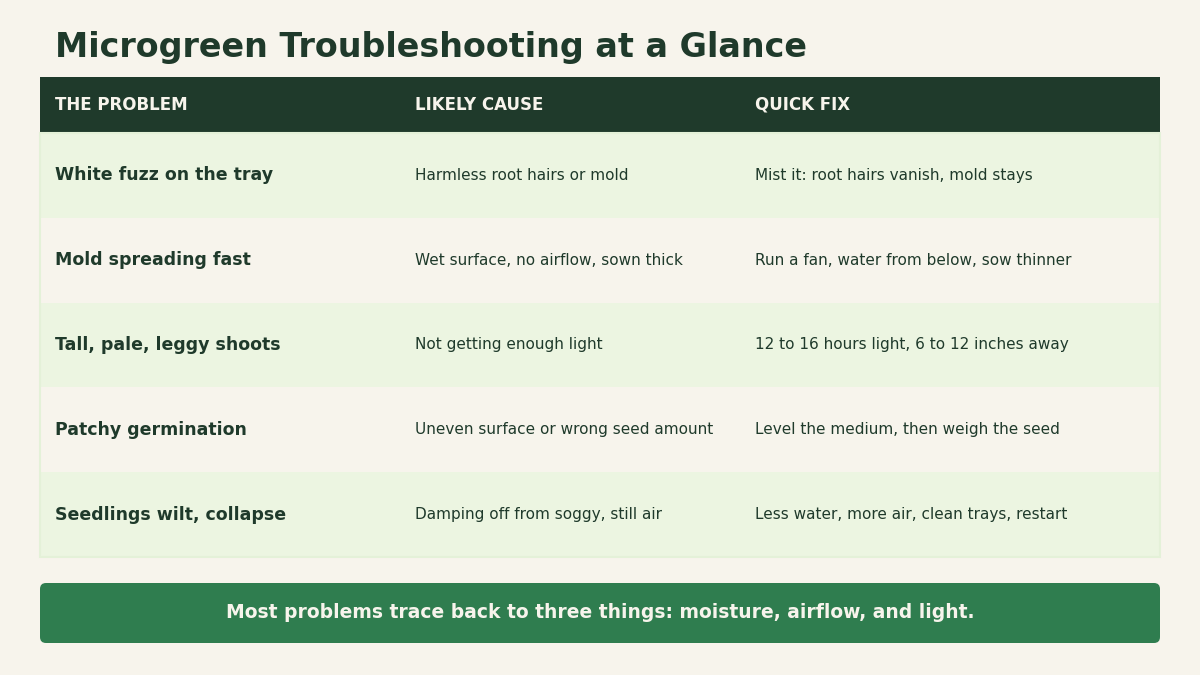
The most common microgreen growing problems, at a glance
Almost every issue you’ll run into falls into a handful of buckets. White fuzz that turns out to be mold. Tall, pale, floppy shoots that lean and won’t stand up. Bare patches where seeds never sprouted. And the scary one, where healthy looking seedlings suddenly wilt and collapse.
The good news is that these problems share a few root causes. Fix the moisture and airflow, dial in the light, and sow your seeds evenly, and most trays sort themselves out. Let’s walk through each one.
Is it mold or root hairs?
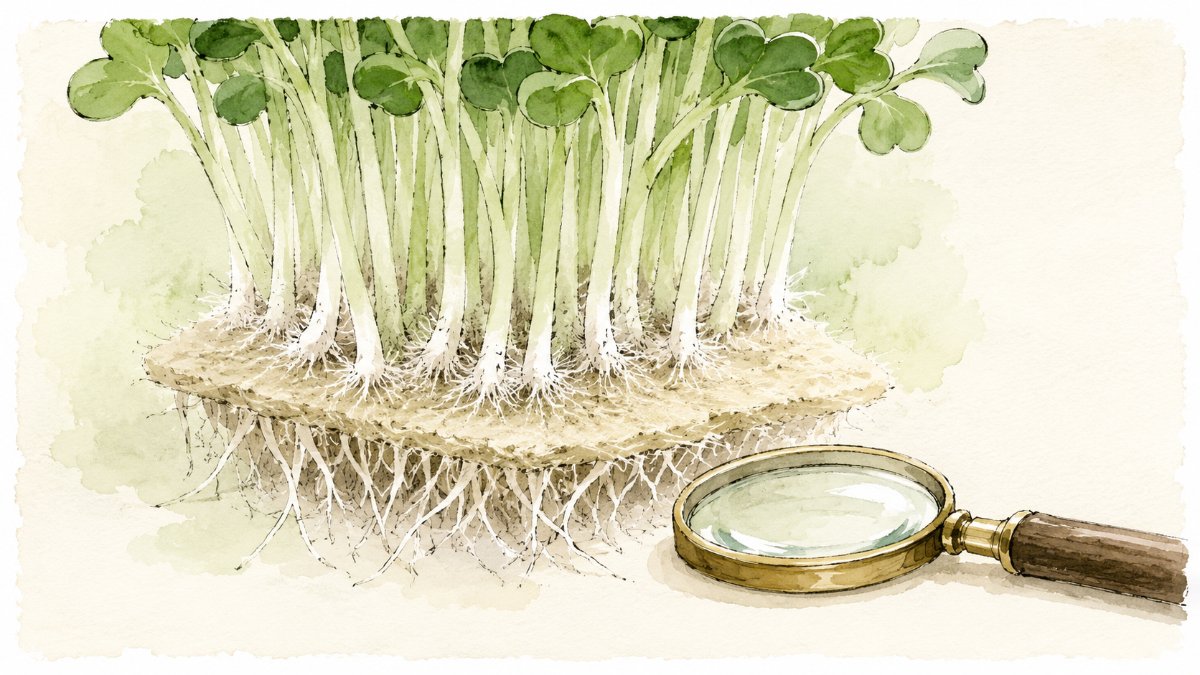
Before you panic over white fuzz, you need to know which kind of fuzz you’re looking at. This trips up nearly every beginner, because harmless root hairs and real mold can look almost identical at a glance.
Root hairs are the plant’s own fine white threads. They grow in a tight halo right around the root and lower stem, usually near the seed. Mold, on the other hand, spreads like a spiderweb across the surface, often between the shoots or on top of the growing medium, not just on the roots.
There are a few quick tests you can do. Root hairs are dry, odorless, and fuzzy. Mold tends to look stringy or webby, smells musty, and can feel slimy. The easiest check is the water test: mist the fuzz with a spray bottle. Root hairs collapse and seem to vanish because the water flattens them. Mold stays put, sometimes clumping up and looking even worse when wet.
If it passes the water test and sits only on the roots, you’re fine. Keep growing. If it fails, treat it as mold and act quickly, because it spreads.
How to stop mold before it starts
Mold is the number one complaint among home growers, and it thrives in exactly the conditions a covered tray creates: warm, damp, and still. Spores drift through the air all the time. They only take hold when they land somewhere wet with no breeze to dry it out.
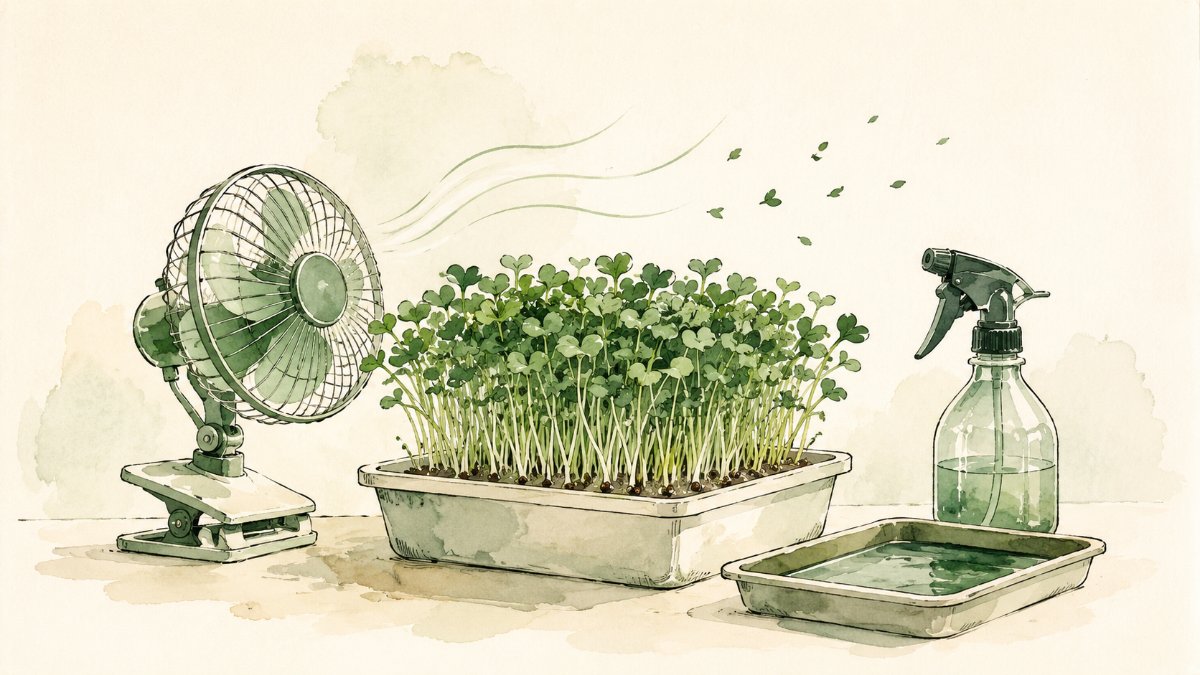
The biggest fix is airflow. A small fan running near your trays keeps the surface dry and moving, and it makes a bigger difference than almost anything else. Even cracking a window or leaving the lid off once shoots emerge helps a lot.
Water matters just as much. Top watering soaks the surface, which is right where mold wants to live. Bottom watering, where you pour water into a lower tray and let the roots drink from below, keeps the top layer dry while the plants still get what they need. Pour off any water that hasn’t been absorbed after a few minutes so the tray never sits in a puddle.
Sowing too thickly is the other hidden cause. When seeds are packed shoulder to shoulder, air can’t move between them, and moisture gets trapped. Give your seeds a little breathing room and you cut mold risk without doing anything else.
Leggy, pale growth that won’t stand up
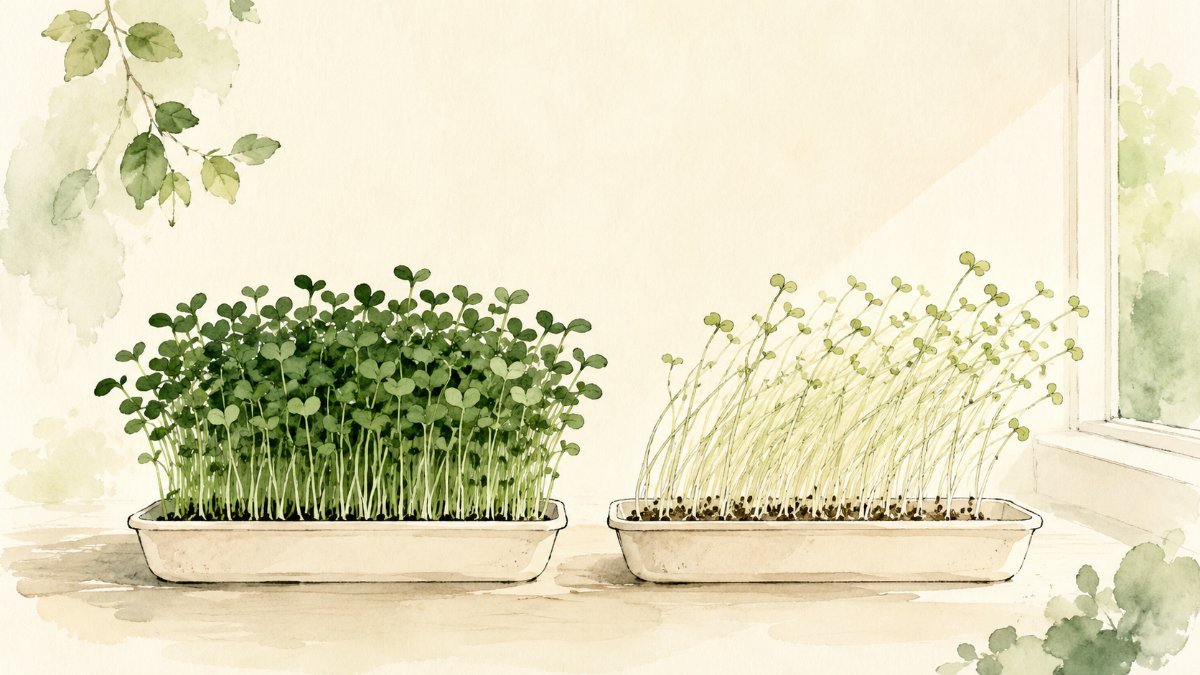
If your shoots are tall, thin, and pale, stretching sideways and flopping over, they’re reaching for light they aren’t getting. Growers call this leggy growth, and it’s one of the most common microgreen growing problems for anyone starting out on a dim counter or a north facing sill.
Plants that don’t get enough light put all their energy into height instead of building sturdy stems and deep color. The result is weak, pale greens with less flavor and less nutrition.
The fix is simple. Give your trays plenty of bright light once they’ve sprouted, aiming for 12 to 16 hours a day. A sunny windowsill can work, but many homes don’t have enough direct sun, especially in winter. An inexpensive LED grow light solves it. Keep the light close, roughly 6 to 12 inches above the tray, so the shoots don’t have to strain toward it.
One more thing that helps: most microgreens like a short dark start. Keeping them covered for the first 2 to 4 days lets the roots establish before the light comes on. After that, uncover them and get them bright. If you want a deeper walkthrough on setups, our guide on growing microgreens without soil covers light and watering for tray free methods too.
Patchy or uneven germination
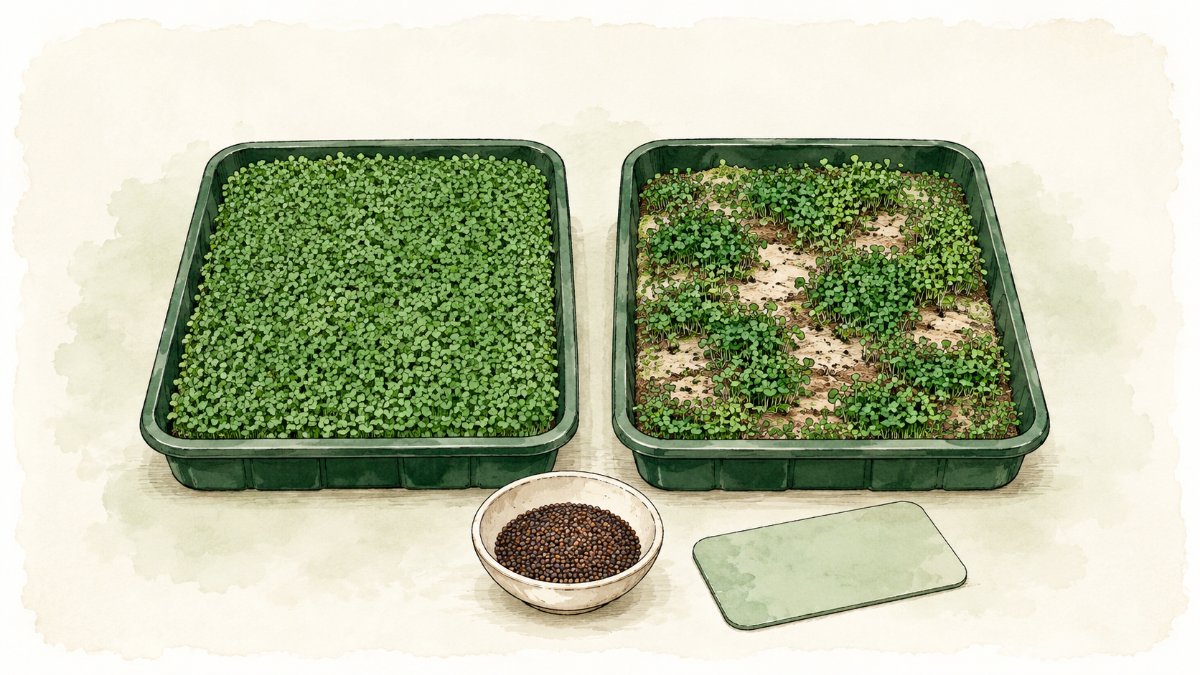
Few things are more frustrating than a tray with lush growth on one side and bare gaps on the other. Uneven germination almost always comes down to how the seeds were sown, not the seeds themselves.
Start with the surface. Before you seed, level the growing medium and tamp it down gently so it’s smooth and flat. Don’t compact it hard, just even it out. Seeds sitting in dips and bumps get different amounts of moisture, so some sprout fast and others lag or never wake up.
Next, get the seeding rate right. Too few seeds leaves gaps. Too many causes crowding and mold. Weighing your seed instead of eyeballing it is the fastest way to get consistent trays, since you can repeat the same amount every time once you find what works for a given tray size and variety.
Scatter the seed as evenly as you can, then press it lightly into contact with the surface. Good seed to soil contact and even moisture are what turn a patchy tray into a solid green carpet.
When seedlings collapse: damping off
This one looks alarming. Seedlings that were standing fine suddenly wilt, blacken at the base, and fall over. That’s damping off, a problem caused by pathogens that attack young stems right at the soil line.
Unlike surface mold, which sits on top, damping off makes the plants themselves rot and collapse. It’s driven by the same culprits as most other issues: soggy conditions and stagnant air. The fixes are the same too. Ease up on water, improve airflow, and start with clean trays and fresh medium. If a tray goes down with damping off, it’s best to compost it, scrub the tray well, and begin again rather than trying to save it.
A real tray that went wrong, and the one change that fixed it
Say you seed a tray of radish, which is usually one of the easiest and fastest microgreens to grow. Day three, you spot white webbing spreading between the stems, and the musty smell tells you it’s mold, not root hairs. The tray was on a warm shelf with the humidity dome still on and no air moving.
You don’t need a fancy solution. You take the dome off, set a small clip fan a couple of feet away on low, and switch to watering from the bottom. Within a day the surface dries out and the mold stops spreading. The next tray, grown the same way from the start with the fan running and no dome after sprouting, comes up clean and lush. The single change that made the difference was moving air.
Common mistakes to avoid
A few habits cause most of the trouble, so it’s worth naming them plainly:
- Sowing seeds too thickly, which traps moisture and invites mold.
- Watering from the top and letting trays sit in standing water.
- Skipping airflow entirely, especially with a dome left on too long.
- Growing in a dim spot and expecting sturdy, colorful greens.
- Reusing dirty trays without cleaning them between grows.
- Tossing a tray at the first sign of white fuzz before doing the water test.
Key takeaways
Most microgreen growing problems trace back to moisture, airflow, and light. White fuzz is usually harmless root hairs, so do the water test before you panic. Beat mold with a fan, bottom watering, and thinner seeding. Fix leggy, pale growth with 12 to 16 hours of bright light held close to the tray. Even out patchy trays by leveling the medium and weighing your seed. And if seedlings collapse from damping off, clean everything and start fresh.
Frequently asked questions
Why do my microgreens keep getting moldy?
Almost always too much moisture and not enough air. Water from the bottom, don’t let trays sit in puddles, run a small fan, and sow your seeds a bit thinner so air can move between the shoots.
Is the white fuzz on my microgreens mold or root hairs?
Mist it with water. Root hairs collapse and seem to disappear, sit only around the roots, and have no smell. Mold stays webby when wet, spreads across the surface, and smells musty.
Why are my microgreens tall and falling over?
They’re not getting enough light and are stretching to find it. Give them 12 to 16 hours of bright light a day and keep the source close, about 6 to 12 inches above the tray.
Can I eat microgreens that had a little mold?
It’s not worth the risk. If a tray has confirmed mold, it’s safest to compost it and start over with clean trays and better airflow rather than trying to rinse it off.
How do I get my seeds to sprout evenly?
Level and lightly tamp the growing medium first, weigh your seed so you use the same amount each time, scatter it evenly, and press it into gentle contact with the surface for even moisture.
This article is general information, not medical advice. Microgreens are a food, and growing your own is low risk, but if you have a health condition, take medication, or are pregnant or nursing and have questions about adding new raw greens to your diet, check with a qualified professional first. If you ever suspect a tray has mold or has spoiled, don’t eat it.