
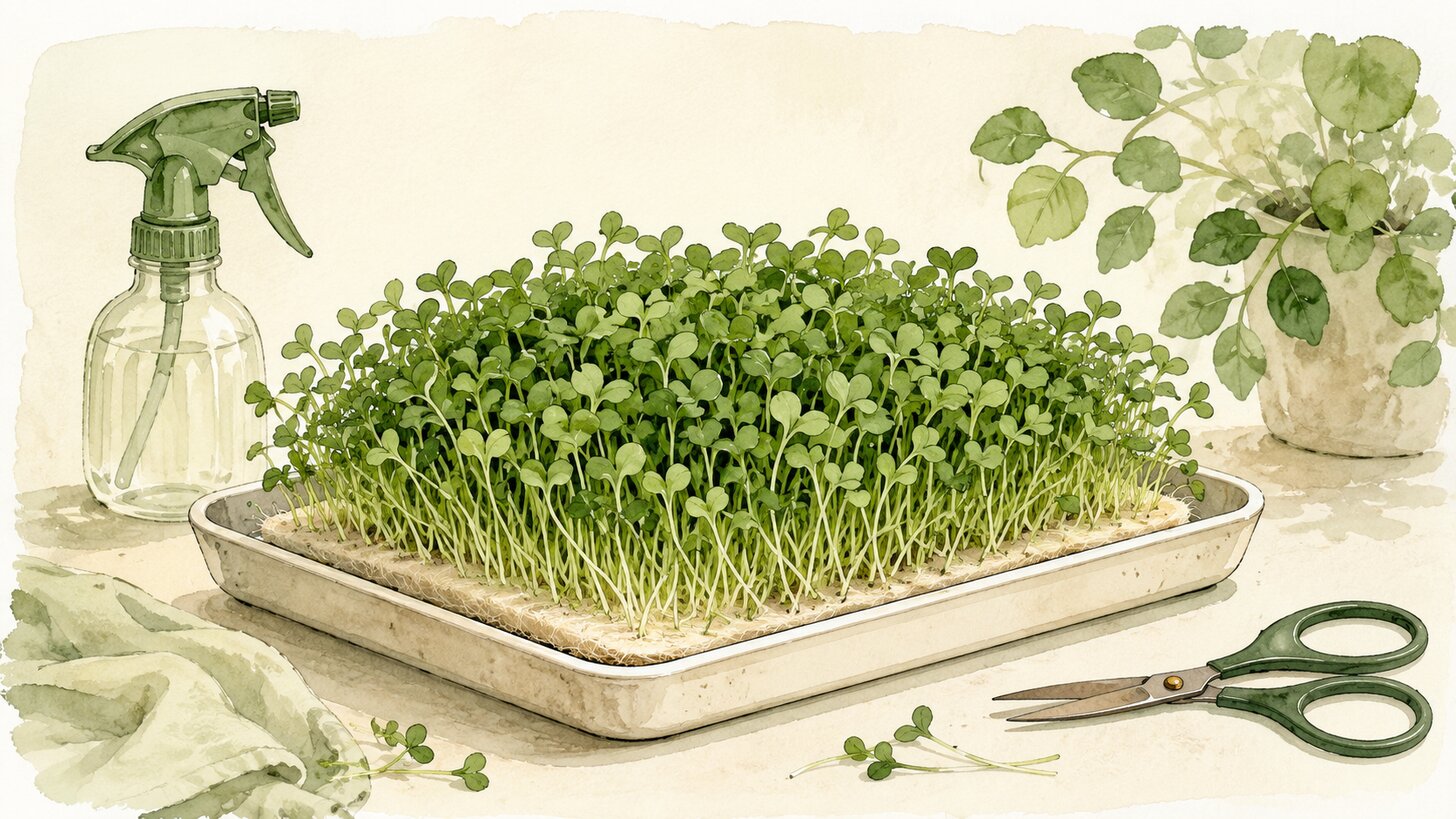
Somebody in every microgreens group posts the same photo about once a week. A tray of pea shoots, a fuzzy white bloom spreading across the dirt, and the caption “is this mold or is this normal?” The answer is usually normal. But the question keeps coming back because soil hides things. It’s dark, it stays damp, it clings to the stems when you cut, and it tracks across your counter.
Which makes people wonder what the soil is really doing in there.
For greens this young, not much. You cut them so early that the plant barely eats. Everything it needs to push up a stem and its first pair of leaves is already packed inside the seed. Soil is a place to sit and something that holds water. Give the seed a mat that does both of those jobs and you get the same greens, a cleaner cut, and no potting mix in your sink.
What it means to grow microgreens without soil
The soilless method swaps potting mix for a thin fiber pad that sits flat in your tray. You wet the pad, scatter your seeds on top, and let the roots grab into the fibers instead of into dirt. That’s the whole change.
It gets called hydroponic microgreens, which sounds like it involves pumps and reservoirs and a pH meter. It doesn’t. There’s no machinery here, and for a tray on your counter there’s no nutrient solution either. The seed already carries the fuel, so plain water is genuinely enough for the ten or so days you’re growing.
If you’ve grown a tray the usual way, almost nothing else changes. Same seeds, same tray, same blackout period, same window. You’re just changing what the seeds are sitting on.
What you need to get started
The list is short, and you may already have most of it:
- Two shallow trays, one with drainage holes and one without. The solid one catches water and doubles as your blackout lid.
- A grow mat cut to fit the tray.
- Seeds meant for microgreens, untreated.
- A spray bottle, and clean scissors for harvest day.
That’s it. No lights required if you have a decent window, though a cheap LED bar helps in a dim kitchen. Our guide to grow lights for microgreens walks through when it’s actually worth buying one.
The best mats for a soilless tray
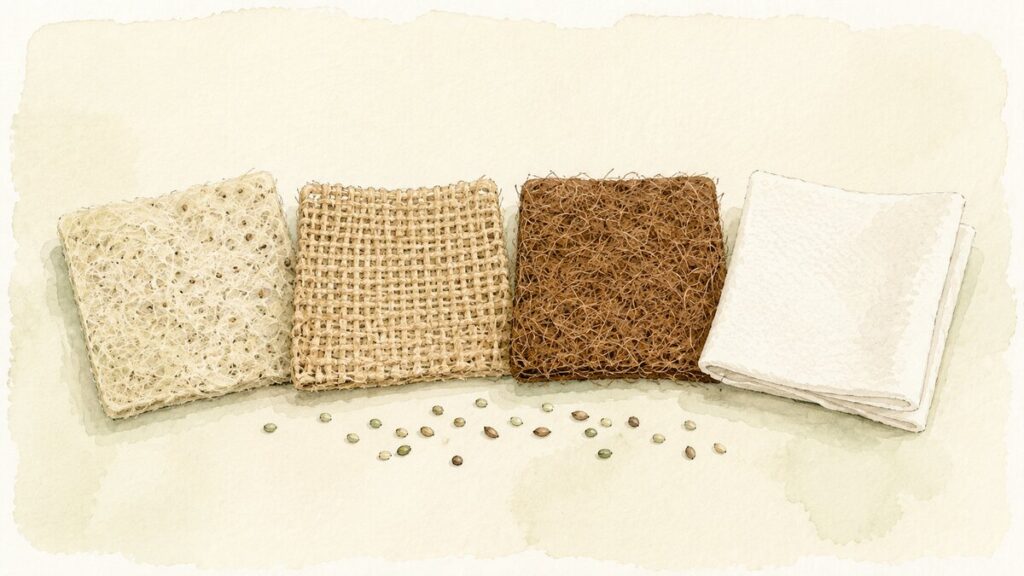
The mat is the one decision that matters, because its whole job is holding steady moisture without turning into a swamp. A few options, roughly in order of how well they tend to work:
Hemp mats are the usual favorite. They hold water evenly, they don’t need babysitting, and they compost at home when you’re done. Growers who test mats side by side tend to land on hemp for consistency.
Jute mats perform close to hemp and usually cost less, often a couple of dollars for a tray sized sheet. If you’re growing every week, that adds up.
Coconut coir mats work, with a catch. They can dry out faster during germination, which is exactly the stage where drying out hurts most.
Paper towels or felt are the free version. Fold a few sheets thick, keep them damp, and small seeds like broccoli or radish do fine. Bigger seeds like sunflower want something with more grip for their roots.
How to grow microgreens without soil, step by step
- Wet the mat. Lay it in the tray with drainage holes and soak it until it’s evenly damp all the way through, then lift a corner and let the extra drip out. Damp like a wrung out sponge, never a puddle.
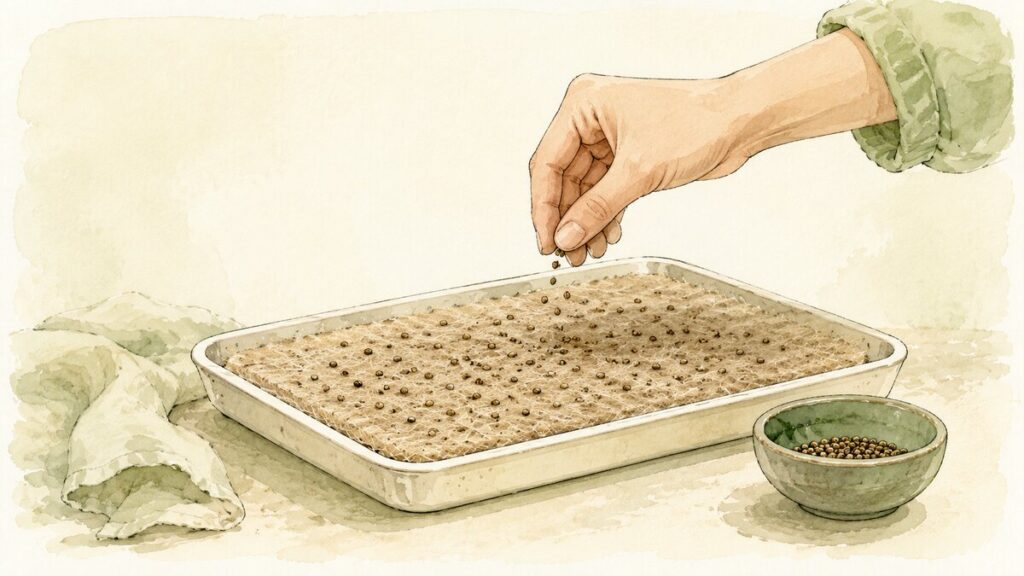
- Sow evenly. Scatter seeds in a single layer so they’re touching but not stacked, because piled seeds rot. Press them down gently with your palm so every seed makes real contact with the fibers.
- Cover for the blackout. Flip the solid tray upside down over the top and leave it two to four days. Darkness tells the seeds to reach, and reaching gives you even upright stems instead of a patchy tray.
- Mist while they’re covered. Once or twice a day, lift the lid, spray the mat, put it back. Roots haven’t reached down yet, so the surface is all they’ve got.
- Bring them into the light once the shoots are lifting the lid. Aim for roughly 12 to 16 hours a day from a bright window or a light bar. They’ll be pale yellow at first and green up within a day.
- Water from below. Set the growing tray inside the solid one, pour a shallow layer of water in the bottom, let the mat drink a few minutes, then pour off what’s left. Dry leaves and a damp mat is the combination you want.
- Harvest at around 10 to 14 days for most varieties, once the first pair of leaves has opened. Snip just above the mat with clean scissors. The stems come up bare, so there’s no grit to rinse, and the spent mat goes in the compost.
A comfortable room, somewhere around 60 to 75 degrees, keeps things moving. Colder rooms stretch the timeline out, which the variety by variety growing timeline covers in more detail.
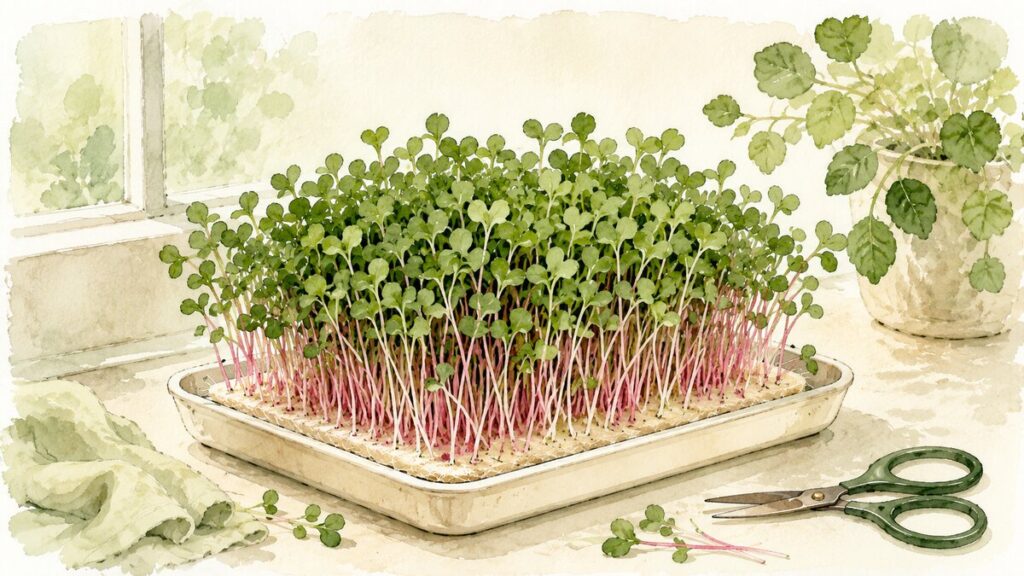
A real tray: radish on a hemp mat
Say you start a radish tray on a Sunday night. You wet a hemp mat, scatter the seeds, press them in, flip the solid tray over the top, and leave it beside the toaster.
Monday and Tuesday you lift the lid, mist, and put it back. Wednesday morning the lid is visibly sitting crooked because the shoots are pushing it up, so you take it off. What you see is a pale yellow carpet, which looks wrong and isn’t. By Wednesday night it’s green.
Thursday through Saturday you bottom water once a day, maybe twice if your place runs warm. Sunday the pink stems are up a few inches with two open leaves, so you cut the whole tray with scissors and get a container of clean, dry, peppery greens. Total hands on time for the week is maybe ten minutes.
Store them right and they’ll last. Our post on how to store microgreens has the paper towel trick that buys you extra days.
Soil or no soil: which one actually grows better?
Here’s the honest version. Yields land close enough that most home growers won’t notice the gap. Some side by side trials give the soilless tray a slight edge, others give it to soil, and the difference is small either way.
Nutrition is much the same story. Since the seed is doing the feeding, the medium doesn’t meaningfully change what ends up in your greens. If you want the fuller picture on that, we dug into it in why microgreens are so nutrient dense.
Where the two really differ is flavor and cleanup. Plenty of growers swear soil grown greens taste a little more assertive, and that’s worth taking seriously even though it’s hard to measure. Soilless wins the cleanup by a mile: no dirt in the harvest, no bag of potting mix in your closet, no gritty rinse.
So pick on what bothers you more. Mess pushes you toward a mat. Flavor and cost per tray pull you toward soil. Neither one is the wrong answer, and the complete guide to growing microgreens at home covers the soil route if you’d rather go that way.
Common mistakes to avoid
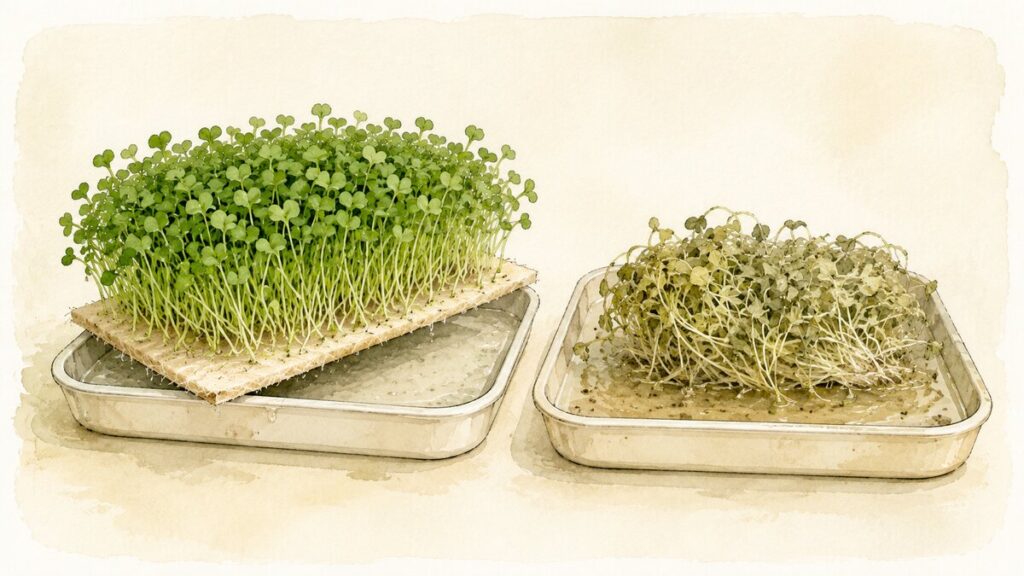
Standing water under the mat. This is the number one cause of trouble in a soilless tray. Soil has a bit of natural buffering, and a bare mat doesn’t, so water left sitting in the bottom tray goes stagnant and mold follows. Pour off the extra every single time.
Sowing too thick. A crowded mat traps humidity between the seeds with nowhere for it to go. Seeds touching is right. Seeds piled on seeds is a rotting tray in three days.
Panicking about root hairs. Around day three you’ll see fine white fuzz hugging the stems near the mat. That’s roots, not mold. Real mold looks like a spiderweb spreading across the surface and smells sour. Root hairs vanish when you mist them. Mold doesn’t.
Skipping the blackout. Light from day one gives you a short, uneven, stubborn tray. Those few dark days are what make the stems stretch together.
Spraying the leaves once they’re up. Wet leaves in still air invite problems. After the blackout, water the mat from underneath and leave the greens dry.
Letting the mat dry out during germination. A mat that dries once at the wrong moment kills seeds that were about to pop, and coir is the likeliest offender. Check it daily.
Key takeaways
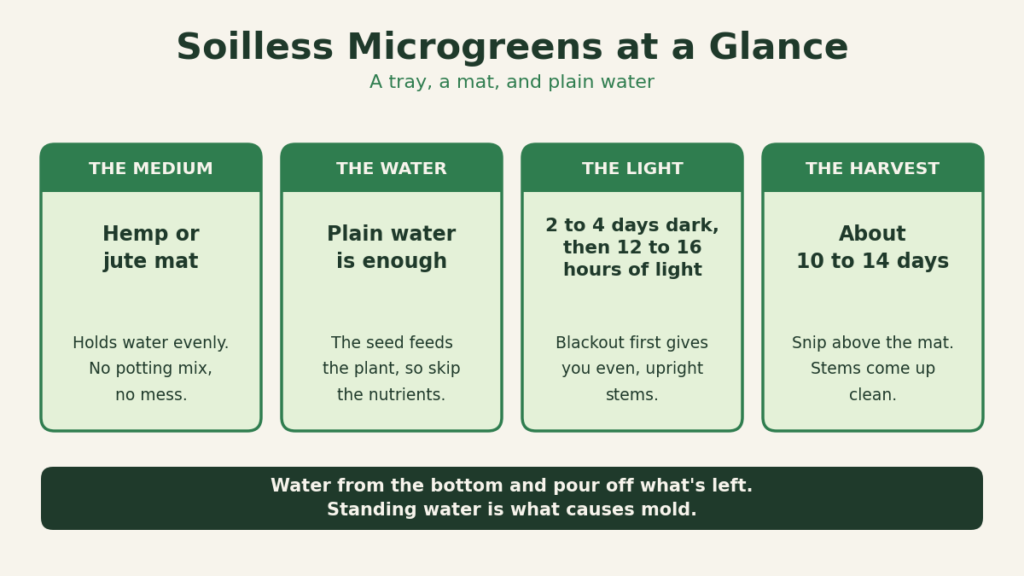
- You can grow microgreens without soil because the seed feeds the plant. The mat only holds water.
- Hemp and jute mats are the most forgiving. Coir dries fast, paper towels work for small seeds.
- Two to four days of blackout, then 12 to 16 hours of light, then harvest around day 10 to 14.
- Water from the bottom and pour off the extra. Standing water is what causes mold.
- Yield and nutrition track close to soil. What you really gain is a much cleaner harvest.
Frequently asked questions
Do soilless microgreens need nutrients added to the water?
For a home tray, no. You harvest before the plant outgrows what’s stored in the seed, so plain water carries it the whole way. Commercial growers running big trays sometimes add a dilute solution to squeeze out extra weight, but on your counter it’s an unnecessary step.
Can you reuse a grow mat?
Not really. The old roots stay woven through the fibers and give the next batch something to rot around. Mats are cheap and compostable, so start each tray fresh.
Which seeds work best without soil?
Small quick ones are the easiest: broccoli, radish, kale, cabbage, arugula. Big seeds like sunflower and pea grow well too but want a thicker mat to anchor into. If you’re picking your first tray, the best microgreens to grow for beginners is a good place to start.
Is this the same as growing sprouts?
No, and the difference matters for safety. Sprouts grow submerged in a warm humid jar and you eat the whole thing, roots included. Microgreens grow in open air and you cut the stems above the mat. We covered the full comparison in sprouts vs microgreens.
Why did my tray smell sour?
Almost always water that sat too long. Toss that batch, wash the trays well, and next time drain the bottom tray after every watering.
This article is general information and is not medical advice. If you have a health condition, take medication, or are pregnant or nursing, please check with a qualified professional before making changes to how you eat.