
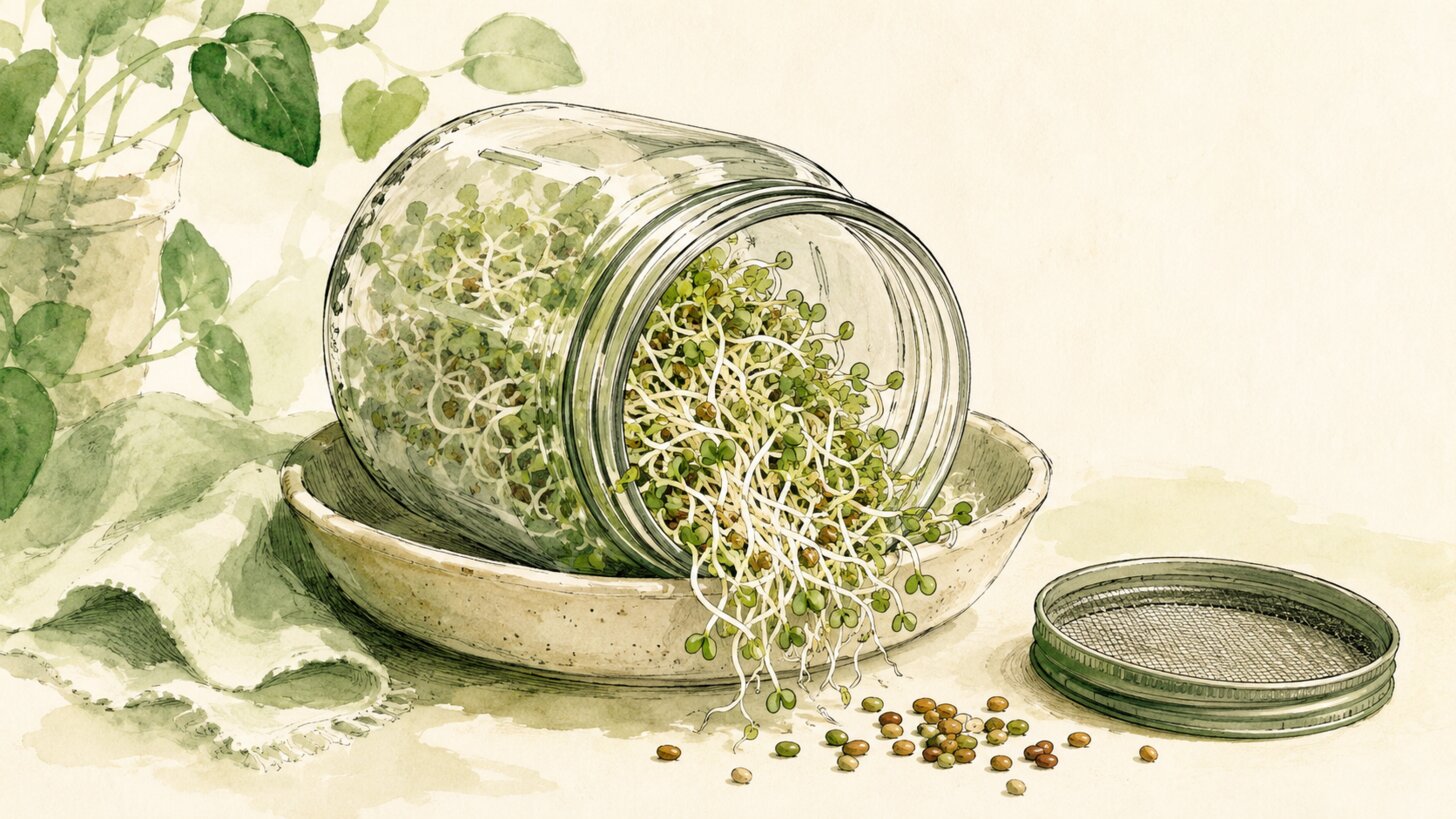
There’s a jar on my kitchen counter that goes from a spoonful of dry seeds to a tangle of fresh green sprouts in about the time it takes to forget I started it. No soil, no garden, no sunny yard. Just a jar, some water, and a few rinses a day.
If you’ve ever wanted homegrown food but felt like you didn’t have the space or the green thumb for it, this is the gentlest place to start. Learning how to sprout seeds at home takes one piece of equipment you probably already own and a few minutes of attention spread across the day. In under a week, you get crisp, living food you can pile onto sandwiches, fold into a salad, or eat by the handful.
What sprouting actually is
A sprout is a seed you’ve woken up. You soak it, keep it damp, and it cracks open and sends out a little root and shoot. You eat the whole thing, seed and all, usually within a few days, long before it ever needs soil or sunlight.
That’s the key difference between sprouts and microgreens. With sprouts, you eat the whole young plant, roots included, after just 3 to 7 days in a jar. Microgreens grow longer in a tray, get real light, and you snip the stems above the surface. If you want that tray method, our guide on how to grow microgreens without soil walks through it.
Sprouting is the oldest, simplest form of “growing your own.” All a seed needs to sprout is water, air, and a little warmth. No dirt, no fancy gear, no windowsill required.
Why bother sprouting your own
The obvious reason is that it’s cheap and fast. A small bag of seeds costs a few dollars, makes jar after jar of sprouts, and gives you fresh food in days instead of weeks.
There’s a nutrition angle too. When a seed sprouts, it breaks down its own storage compounds to fuel new growth. Research suggests this can reduce antinutrients like phytic acid, the compounds that make some minerals harder for your body to absorb. Sprouting also tends to bump up certain nutrients, including vitamin C, some B vitamins, and antioxidants. How much changes depends on the seed and how long you sprout it, so it’s fair to call this a nice bonus rather than a miracle.
The last reason is just that it’s satisfying. You start with something that looks dead and end the week with living green food, which is why a lot of people keep a jar going year round.
What you need to sprout seeds at home
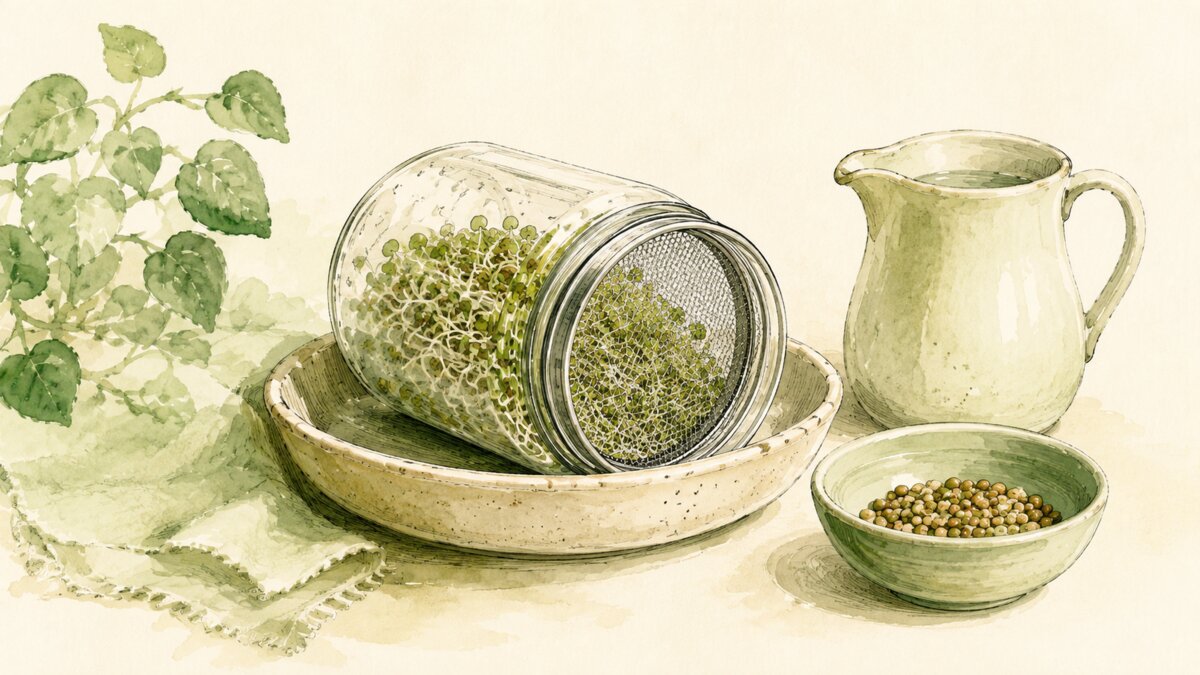
The beauty here is how little it takes. You can buy a purpose made sprouting jar, but you don’t have to.
Here’s the short list:
- A wide mouth glass jar, a quart size mason jar is perfect
- A breathable lid: a stainless steel mesh screen, a plastic sprouting lid, or a square of cheesecloth held on with a rubber band
- Seeds sold specifically for sprouting
- Cool, clean water
- A bowl or dish rack to prop the jar at an angle so it drains
That’s it. The one thing worth spending care on is the seed. Buy seeds that are labeled for sprouting, not random packets from the garden center. Sprouting seed is meant to be eaten raw and is handled with that in mind, which matters a lot for the safety part we’ll get to.
How to sprout seeds at home, step by step
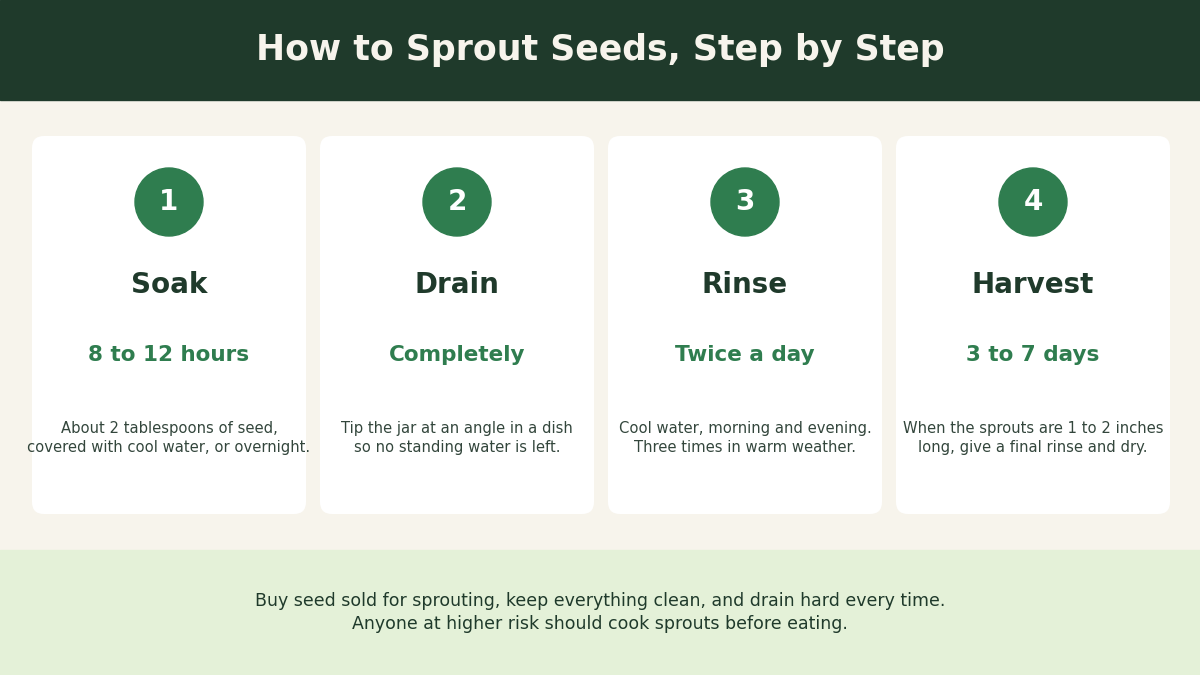
Once you have your jar and your seeds, the routine is easy to fall into. Most seeds follow the same rhythm, with only the timing changing from one type to the next.
Step 1: Rinse and soak
Add about 2 tablespoons of seeds to your jar. Smaller seeds like alfalfa need less and larger beans a bit more, but a couple of tablespoons is a safe start since sprouts expand a lot. Rinse them once, then fill the jar with cool water and soak for 8 to 12 hours, or overnight.
Step 2: Drain completely
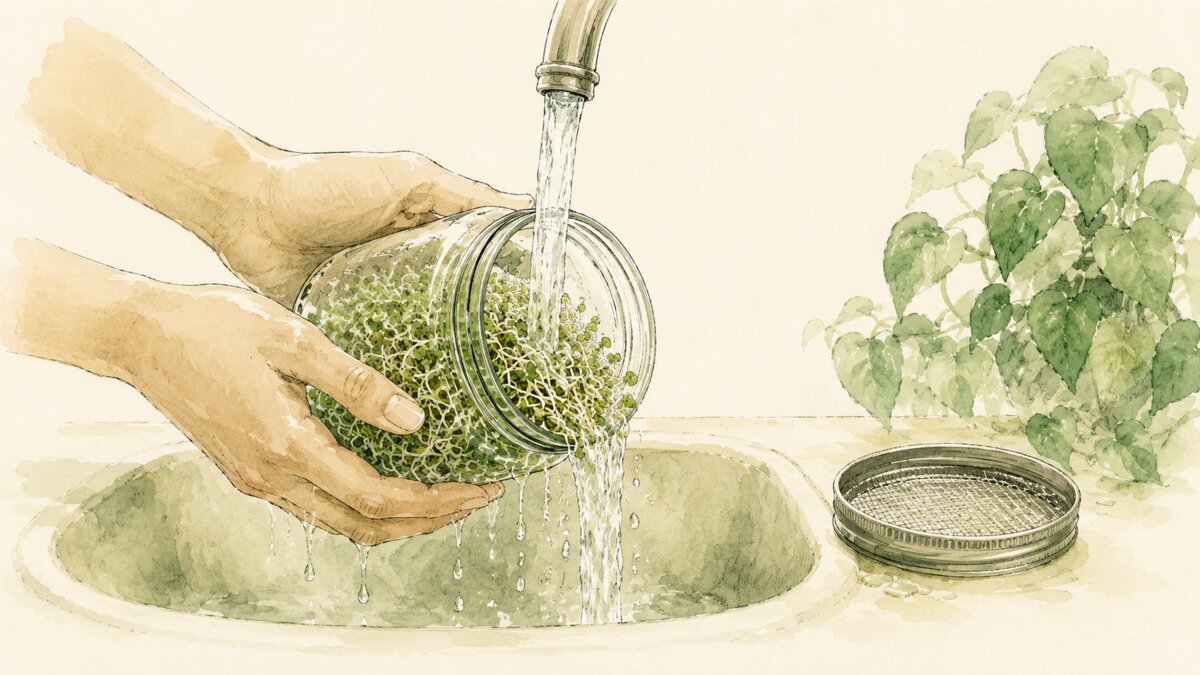
Pour off the soaking water through your mesh lid. Then tip the jar upside down at an angle in a bowl or dish rack so the last drops run out and air can move through. Standing water is the enemy of a good sprout, so drain more thoroughly than you think you need to.
Step 3: Rinse and drain, twice a day
For the next few days, rinse the seeds with cool water and drain them well at least twice a day, morning and evening. In warm weather, three times is better. Each rinse keeps them moist and washes away anything that could turn funky. Set the jar back at its angle afterward.
Step 4: Watch them grow
Within a day or two you’ll see little tails appear. Keep rinsing and draining, and in 3 to 7 days your sprouts will be an inch or two long and ready. Most people leave them on the counter, out of direct sun. A last rinse and a good drain, and they’re done.
That’s the entire process. The hardest part is just remembering to rinse, which is why the jar lives where you’ll see it.
The best seeds to sprout for beginners
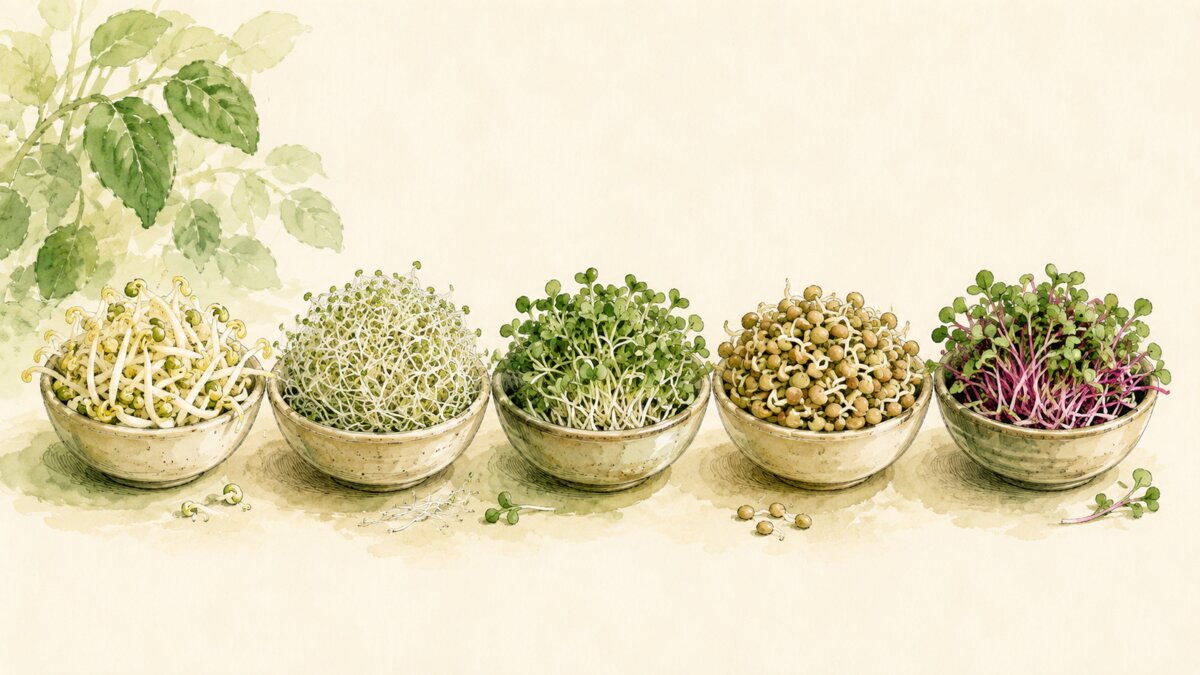
Some seeds are far more forgiving than others. If it’s your first jar, start with one of these.
Mung beans are the classic crunchy bean sprout you see in stir fries. They’re mild, fast, and hard to mess up, usually ready in 3 to 5 days.
Alfalfa gives you those fine, delicate strands that pile onto sandwiches. They take a little longer, around 5 to 7 days, and have a mild grassy taste.
Broccoli sprouts are the ones people get excited about, because they’re a well known source of sulforaphane, a compound studied for its role in the body. They taste faintly peppery and grow much like alfalfa.
Lentils are one of the easiest of all. They sprout in a few days, add protein and a nice bite, and don’t even need to grow long tails to be good.
Radish sprouts bring real heat and a pop of color, ready in about 4 to 6 days, great when you want your sprouts to taste like something.
Once you’ve got the rhythm down, try mixing seeds for a jar with several flavors at once.
Keeping your sprouts safe to eat
This is the part no honest guide should skip. The same warm, damp conditions that make seeds sprout are also friendly to bacteria, so sprouts carry more food safety risk than most raw produce.
The numbers are worth knowing. Between 2006 and 2019, the CDC linked 14 foodborne illness outbreaks to sprouts, causing hundreds of illnesses. The main culprits are Salmonella and E. coli, and in most cases the contamination traced back to the seed itself, not the jar.
None of this means you shouldn’t sprout. It means you should sprout smart:
- Always buy seeds labeled for sprouting from a supplier that tests them. This is the single most important step.
- Wash your hands, your jar, and your lid thoroughly before you start.
- Rinse and drain on schedule, and keep the jar away from raw meat and busy, dirty corners of the kitchen.
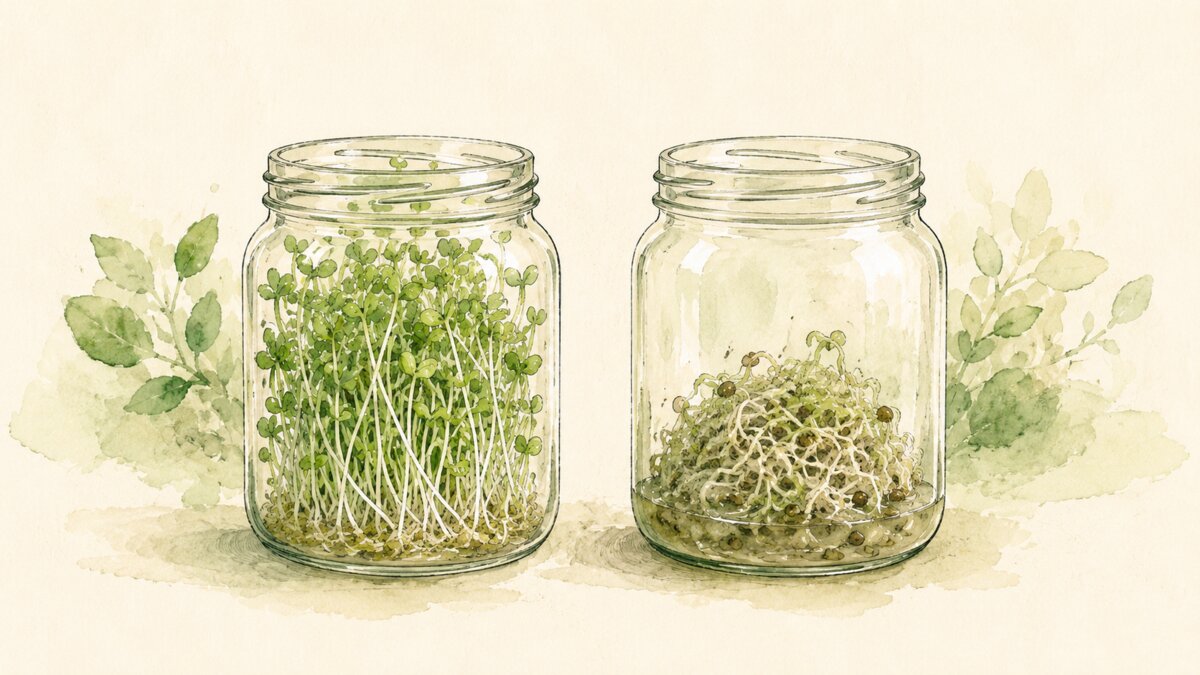
- If a jar ever smells off, looks slimy, or grows dark fuzzy patches, throw it out. Trust your nose.
- Refrigerate finished sprouts promptly and eat them within a few days.
One more thing that matters: health agencies advise that young children, older adults, pregnant people, and anyone with a weakened immune system either avoid raw sprouts or cook them thoroughly first. Cooking sprouts kills the bacteria that cause the problem, so a quick sauté or a drop into hot soup makes them safer for everyone.
How to store your sprouts
When your sprouts are ready, give them a final rinse and dry them as well as you can. A salad spinner works beautifully, or roll them gently in a clean towel. Dry sprouts keep longer than damp ones.
Move them into a container or bag lined with a paper towel and keep them in the fridge. Stored this way, most sprouts stay crisp for up to about a week. Give them a quick sniff before each use, and when in doubt, start a fresh jar. You’ll have another ready in days anyway.
Common mistakes to avoid
A few small slip ups trip up most first timers, and all are easy to fix.
Leaving water in the jar is the big one. Sprouts that sit in a puddle go slimy and sour fast, so drain hard and prop the jar at an angle every time.
Skipping rinses is next. Miss a day and the jar can dry out or turn, so keep it somewhere you’ll actually see it.
Using the wrong seeds causes trouble too. Garden seeds are sometimes treated with coatings you don’t want to eat. Stick with seed sold for sprouting.
Finally, don’t crowd the jar. A little seed makes a lot of sprouts, and packing them in leaves no room for air or water to move. Start with less than you think.
Key takeaways
If you remember nothing else, remember this. Learning how to sprout seeds at home comes down to a clean jar, sprouting seed, and a rinse twice a day. Soak overnight, rinse and drain well morning and evening, and harvest in 3 to 7 days. Buy seed meant for sprouting, keep everything clean, drain thoroughly, and store your sprouts dry and cold. That’s the whole craft, and it fits on your counter.
Frequently asked questions
How long does it take to sprout seeds?
Most seeds are ready in 3 to 7 days. Mung beans and lentils are on the fast end, while alfalfa and broccoli take a little longer.
Do sprouts need sunlight to grow?
No. Sprouts grow fine in normal room light, out of direct sun. Unlike microgreens, they don’t need a bright windowsill or a grow light.
How often do I need to rinse sprouting seeds?
At least twice a day, morning and evening, and three times in warm weather. Rinsing keeps them moist and washes away anything that could spoil the jar.
Are homegrown sprouts safe to eat raw?
They can be, if you use seed sold for sprouting and keep everything clean, but sprouts carry more risk than most raw produce. Children, older adults, pregnant people, and anyone with a weakened immune system should cook sprouts or skip them.
Can I sprout seeds from the garden store?
Better not to. Garden seeds may be treated with coatings and aren’t handled for raw eating. Always use seeds labeled for sprouting.
This article is general information, not medical advice. If you have a health condition, take medication, or are pregnant or nursing, check with a qualified professional before making changes to what you eat.